Scenario 4: August 1, The First Battle of Siétamo.
On August 1st, the Durruti Column, in an effort to assist the neighboring columns in catching up to their advance, sends forces north to join in the siege of Siétamo. On July 30th and 31st, the Column of the POUM, reinforced by loyal peninsular military soldiers, starts a new offensive aided by a battery of the 8th Light Mataró, located 3 km from the town. On July 31st, A pro-Franco reinforcement column formed by 26 Falange militants, 24 civilian guards, 24 machine guns and 2, 50-mm mortars from Huesca entered the town. Throughout this time, the Republicans have bombarded Siétamo, especially the church on the Plaça Mayor, where the fascists set up their machine guns.
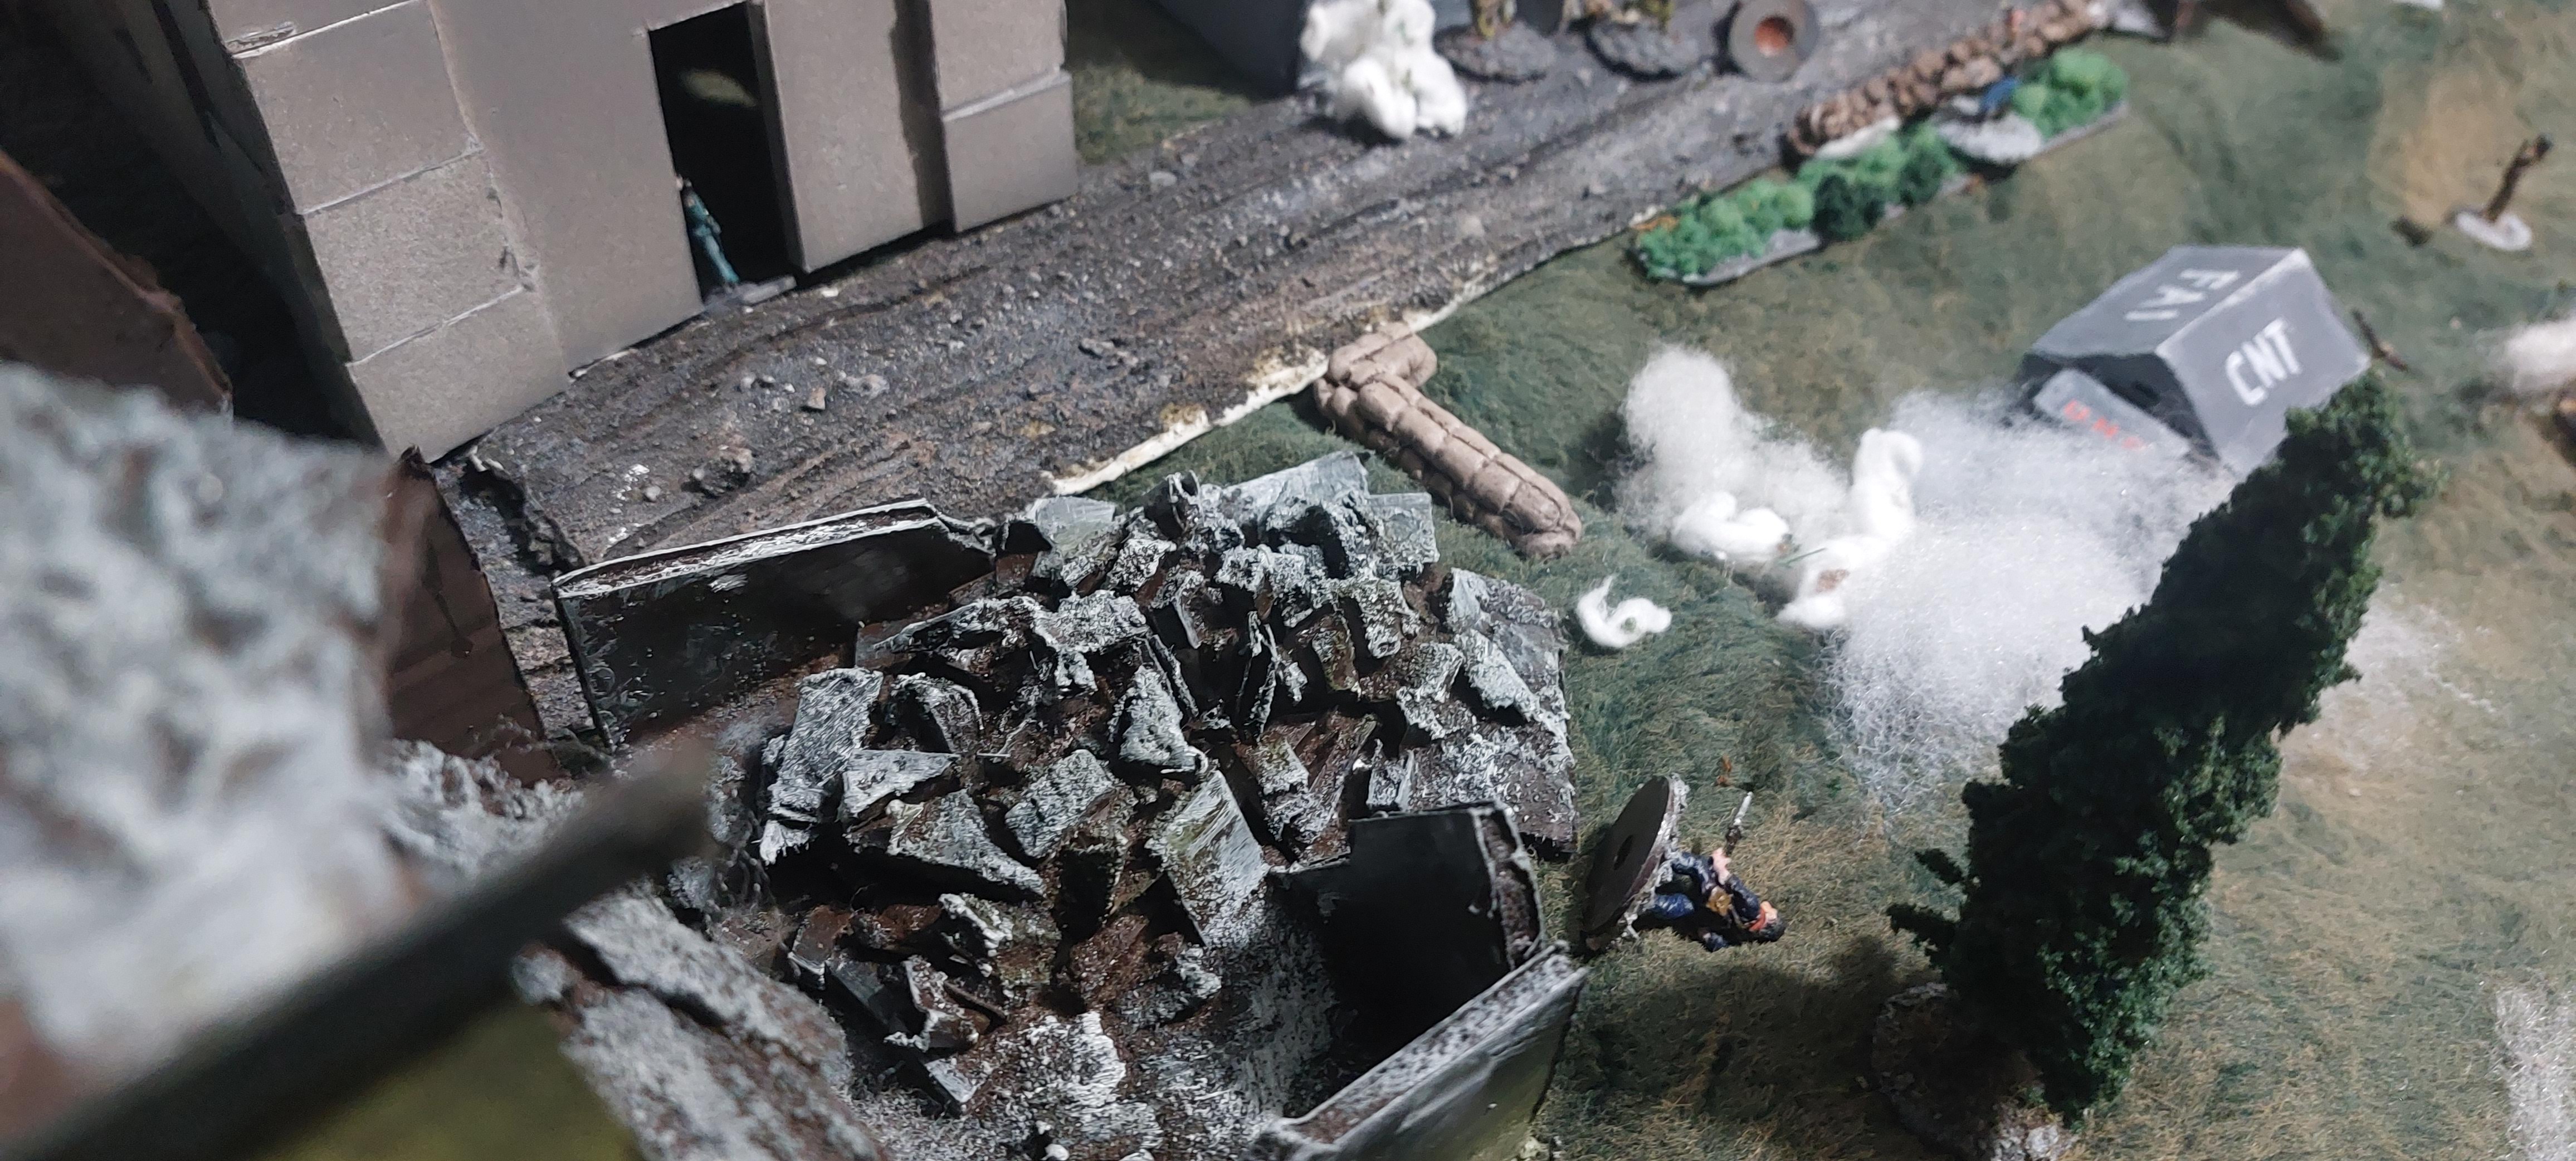
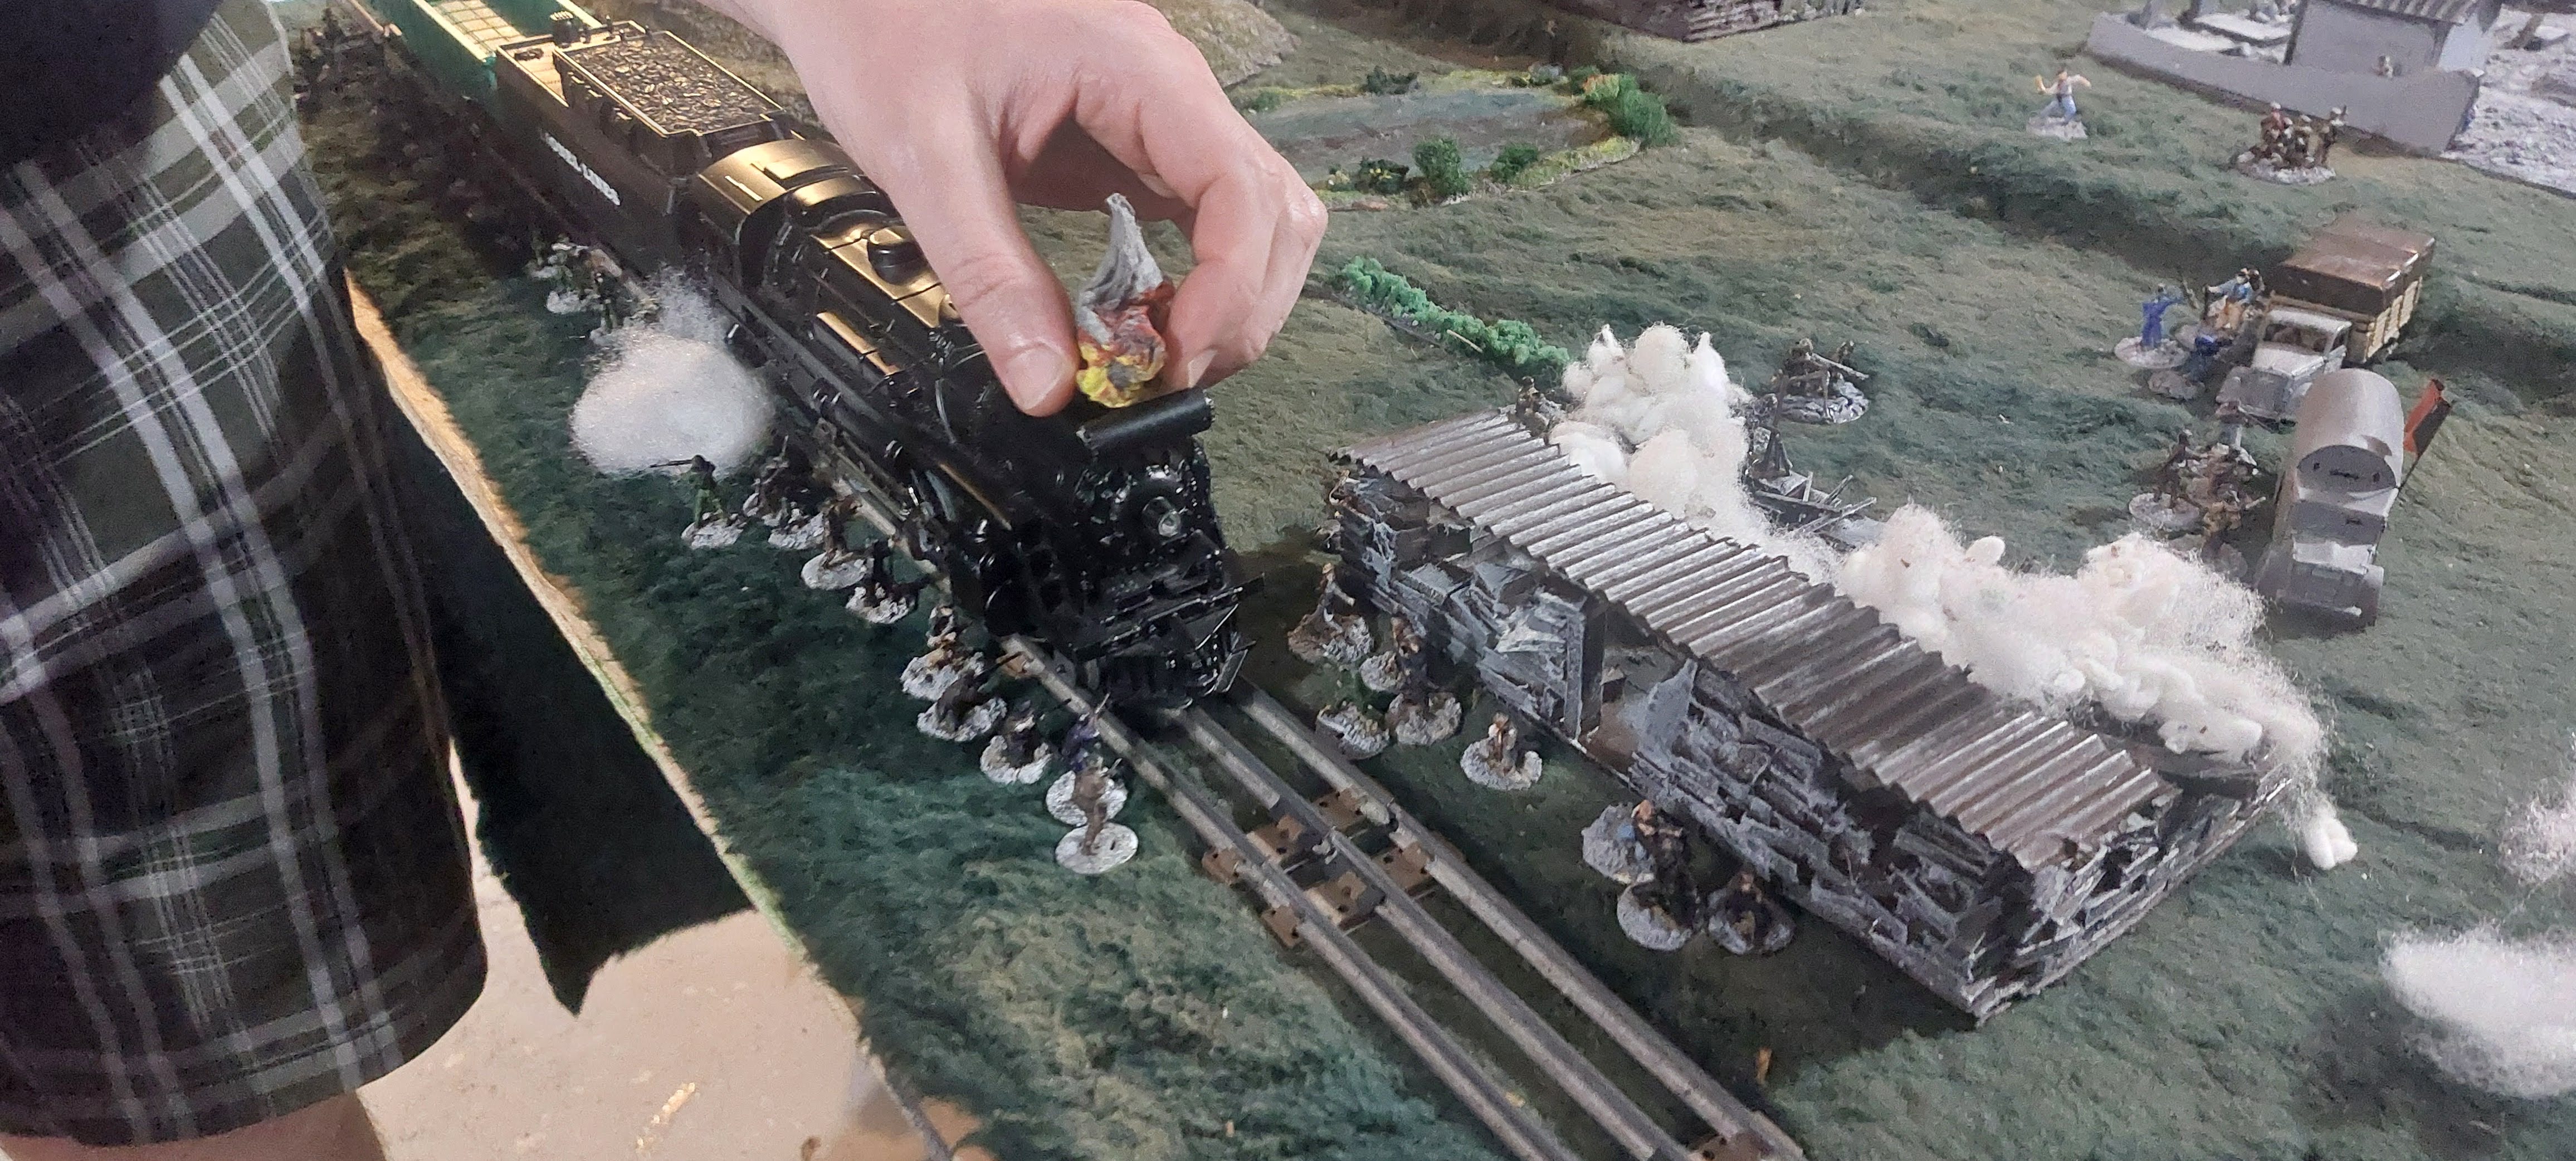
On August 1, POUMistas, militiamen of Barbastro, and the Durruti Column form two prongs that enclose the villa. At 11am, Three armored trucks try to break the village defenses. The fighting lasts into the night.
Set up: Clear summer weather, visibility at 40”, 60” with binoculars. Arrange the table with a crossroads to the south of the town. Farms surround the area, with a large hill to the north-west and a smaller hill to the south-west. The Plaça Mayor is close to the crossroads, near the south-east corner of the town.
Entry points: The workers have 3 Entry Points. #1 will be on the end of the table on the hill just south-west of Sietamo. #2 will be along the road at the far east edge of the table. #3 will be in the hills at the northern edge of the table.
Nationalists will set up their immediately-avaliable forces within the town. All reinforcements will arrive at Entry Point # 4, on the western edge of the table.

Unit Sheets: Make unit sheets for the groups/squads/companies etc.
Ammunition: Nationalists have 8 ammo each, an ammo dump worth 200 ammo points, at the church, and may be resupplied by truck after turn 10 for an additional 100 ammo points. CNT have 5 ammo per unit, 20 for artillery. Receive ammo resupply by road, worth 100 ammo points, after turn 10, but can also steal the nationalists’ supplies.
First half: 10 turns. On turn 5, the nationalists renault tank is captured by an Siétamo youth and driven to Republican lines
Rightist orders:
Defend the town. HQ is the Church.
Objectives
-Defend the barricades at perimeter of town
-Defend Church
Republican Orders:
Capture the town, establish defense positions west of town. Capture cannons intact.
Objectives
-Break defensive perimeter
-Capture Church
Nationalist forces
Civil Guard:
-HQ: Lieutenant Angüés Manuel Lahoz,, 2 runners, 4 guards, 1 MG and crew, 1 ambulance
-1st platoon: Sergeant Antonio Javierre Arnal and 19 men
Carlists:
-HQ: Sergeant, 2 armed priests, nuns, 4 grenades/molotov men
-1st platoon: 1 officer, 19 men
Falange:
-HQ: Sergeant, 4 grenaders/molotovs
-1st platoon: 1 officer, 19 men
Regiment of Valladolid:
-HQ: Sergeant, 4 MGs
-1 Renault tank and crew
-2 mortars and crew
-1st platoon: 1 officer, 19 men
Republican Forces
Regiment of Valladolid (Entry Point 1):
-HQ: Colonel Villalba, 1 bearer, 1 runner, 1 x HMG and crew, 4 x 75mm cannon and crew
-1st platoon: 1 officer, 19 men
-2nd platoon: 1 officer, 19 men
-2 bomber aircraft
CNT Detachment HQ:
-General HQ and Artillery: José Mira, 1 bearer, 1 runner, 4 x 75mm cannon and crew
-Dinamiteros: 2x mgs and crew, 5 dynamiters. Guard HQ, support assault groups.
-Armored trucks: 3x armored trucks.
1st Centuria:
-HQ: delegate, 9 shock fighters
-1st group: 1 delegate, 9 militia
-2nd group: 1 delegate, 9 militia
-3rd group: 1 delegate, 9 militia
-4th group: 1 delegate, 9 militia
-5th group: 1 delegate, 9 militia
Anarchist Shock forces:
-Advanced Group: 20 shock fighters
-Armored trucks: 3x armored trucks.
2nd Centuria:
-HQ: Delegate, 9 shock fighters
-1st group: 1 delegate, 9 militia
-2nd group: 1 delegate, 9 militia
-3rd group: 1 delegate, 9 militia
-4th group: 1 delegate, 9 militia
-5th group: 1 delegate, 9 militia
POUM Militia (Entry point 3):
-HQ: Delegate, 9 dinamiteros
-1st group: 1 delegate, 9 men
-2nd group: 1 delegate, 9 men
-3rd group: 1 delegate, 9 men
-4th group: 1 delegate, 9 men
Second half: 10 turns
Nationalist reinforcements (whatever available forces):
100 ammo points
-HQ: Commander Jose Aranaz Conrado, 2 MGs
-1st platoon: 1 officer, 19 men
-2nd platoon: 1 officer, 19 men
-3rd platoon: 1 officer, 19 men
-2 bomber aircraft
CNT reinforcements (By road or train at Entry Point 2)
100 ammo points
3rd Centuria
-HQ: Delegate, runner, 2 MGs and crew
-1st group: 1 delegate, 9 militia
-2nd group: 1 delegate, 9 militia
-3rd group: 1 delegate, 9 militia
-4th group: 1 delegate, 9 militia
-5th group: 1 delegate, 9 militia
Outcome: If the workers are victorious, they may move on to the next scenario, and carry over any remaining ammunition, including the captured ammo dumps. Any and all machine guns and cannons not destroyed in the fighting are added to the equipment list in your general supply.
Historic Note:
Before the Durruti Column detachment led by Mira arrived outside Sietamo, the nationalists had consolidated various forces from the surrounding area to hold the important gateway to the region’s capital, Huesca, twelve kilometers to the west. In Sietamo, Guardia Civil officers, infantrymen of the Valladolid Regiment No. 20 (coming from Huesca), local right-wing militia volunteers, and a variety of survivors and exiles from Catalan and Aragonese towns and cities fortified the town. Lieutenant Angüés Manuel Lahoz, head of the police in the neighboring town, assumed overall command of the rebels in Sietamo. Antonio Javierre Arnal, a sergeant of the Sietamo Civil Guard, was Manuel Lahoz’s second in command and the leader of the Guards. Local priests Marcelino Playán and Rafael Febrer rallied the troops and even participated in the fighting, taking their post in the church tower to shoot at the attackers.
The first Republican wave reached Sietamo on July 26. Loyal soldiers from Barbastro lead by Colonal Villalba and supported by POUMista and other Catalan militants, failed to take Sietamo. Many were arrested by the defenders.
Four days later, Republican aircraft began to bomb the town, and a second assault commenced on the ground led by three armored vehicles. Jose Mira’s detachment from the Durruti Column joined in the battle, charging into the town from the hills north of town. The Nationalists held out in a tightening circle around the church and the Abarca de Bolea palace until August 1.
The following afternoon, the Nationalists returned in force. A column from Huesca led by Commander Jose Aranaz Conrado stormed into Sietamo, surprising the Republican defenders. Colonel Villalba narrowly escaped. The Nationalists managed to capture and execute some loyal Civil Guards, General Llano de la Encomienda’s son, and thirteen others.
The Nationalists’ assault pushed the Republican forces straight out of Sietamo and all the way to the Guatezalema River east of town. The leftists reorganized and began their flanking movements again, with the Durruti Column on August 9 joining the assault against the 200 rebels with two cannons, and 6 machine guns holding Sietamo.


