Picking up where I left off with the Whydah Gally tutorial part 1, I began by preparing cannons to add to the ship. Now, I'm not a skilled enough sculptor to model accurate enough cannons for above deck, where they can be closely viewed. My tooth-pick cannons were fine for below-decks where they would just poke out of the port holes, but I purchased some brass cannon from a model ship company. I also had a couple cheap plastic cannons from sets of pirate miniatures.

The cannon carriages were sold separately, and I cannot spend too much money on these projects, so I built my own out of cardboard and bbq skewers for wheels. Not the best pieces, but with paint and ropes they'll do fine on the crowded deck.

Glueing the cannon onto their carriages so that they would fit well through the port holes took a few tries. I needed to make sure they would all sit nicely before I could paint and finish off the cannon.

Looks pretty good.

I spray-primed the cannons and carriages, then painted the cannons in gun-metal enamel, and the carriages a similar brown to the hull.

I added the ropes around the cannons, and set them aside to dry.

While they dried, I began rigging the ship.

By this point, I only had a few days before my art gallery opened, so I really got down to it.


Before I got too far with the rigging, I glued the cannons into place, adding rolls of rope to hang next to each cannon.

Here they are, completed:

Next, I began stringing up the rat lines. I used a needle to thread the vertical ropes up the masts. Then I cut small pieces of string, wiped with a small amount of Glue-All to stiffen them up. Then I glued them in place horizontally, as the rungs of the rat lines. Other, better models than I would have tied each of these into place, but I had neither time nor patience for that.


Once I had completed the rat lines and most of the inner rigging, I got started on sails. My kind wife brewed me some black tea, which I mixed with a little gluey water. I used some old pillow cases and cut them to size. I threaded a line through the bottom corners of each sail, to tie them off later. I dipped each sail briefly in the gluey tea, squeezed them out, then dripped the tea bag onto them before giving them a second squeeze.

I ran a bead of glue on the yard and clamped the sails into place until they dried.

Slowly, over the coarse of the last few days available to me, I added the sails. and made sure they dried correctly, adding more glue where they hadn't.

Once satisfied, I went back through with my scissors and cleaned up the frayed edges and excess sail material.

Almost done, I went back through and tied off the bottoms of the sails, leaving the excess thread for the next step.

I rolled up the excess thread, or added more when there wasn't enough, to leave hanging off the rails.

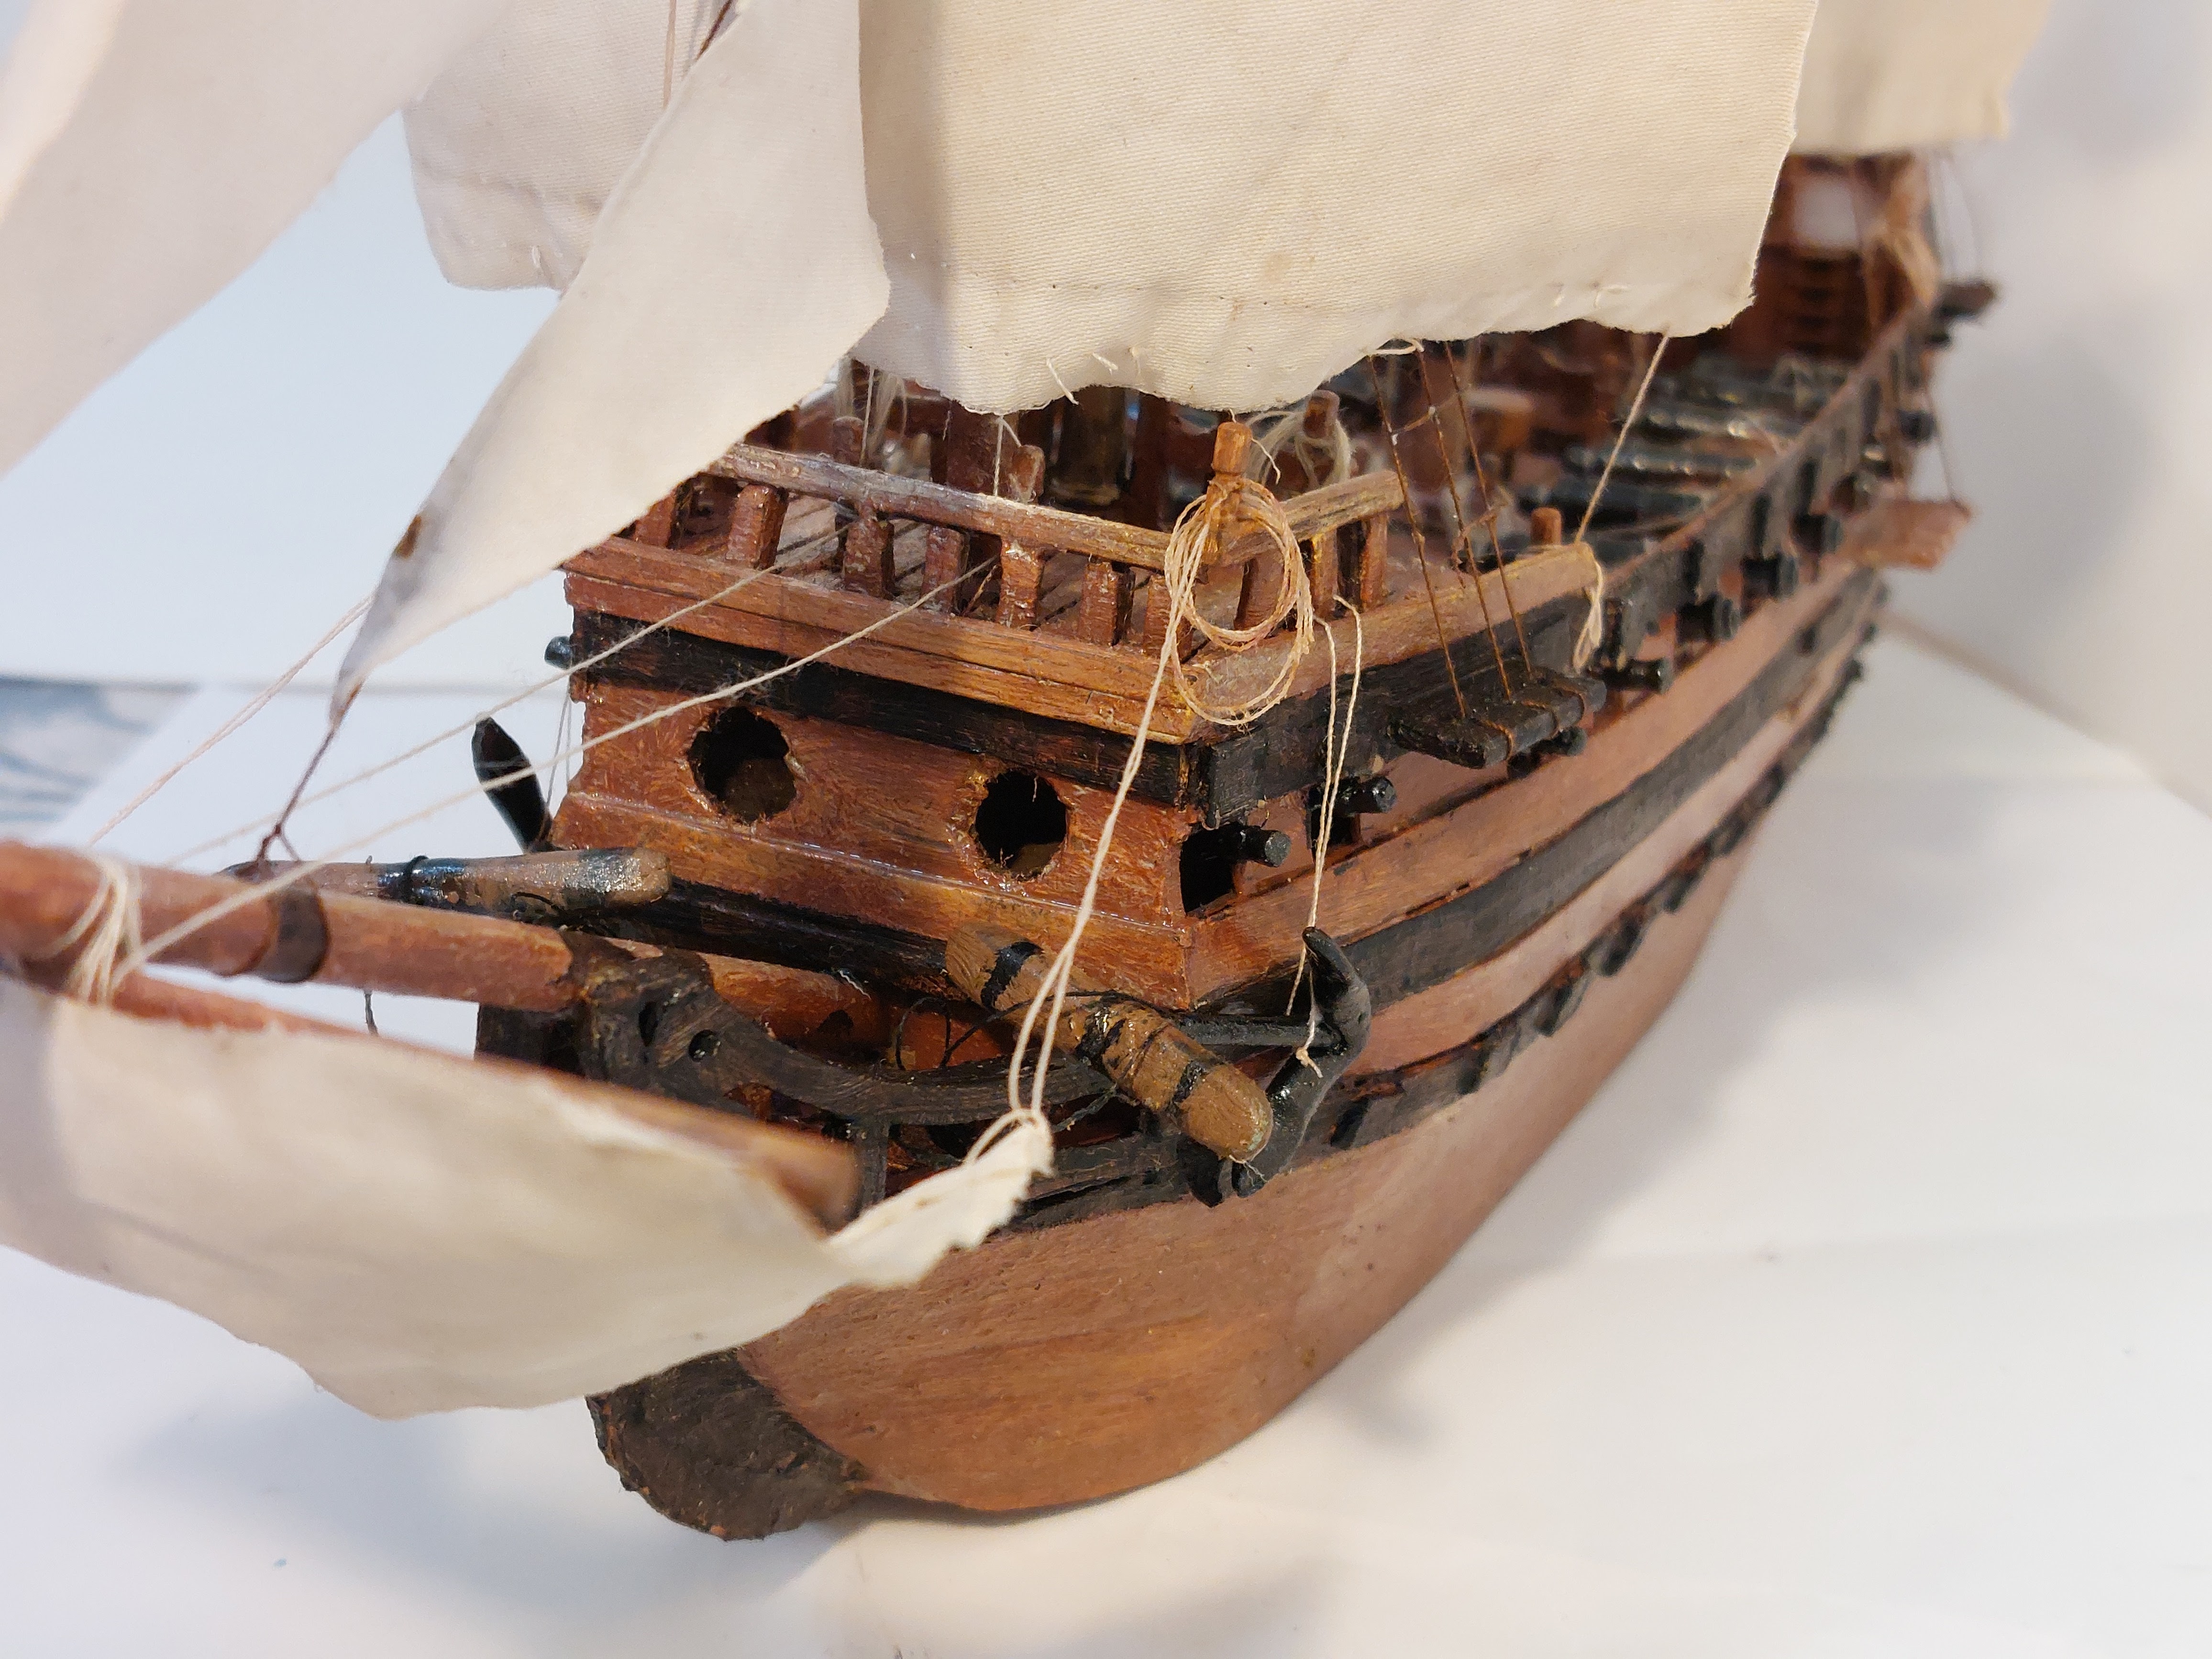
I had previously made some anchors out of clay and paint, and I glued them into place as well, adding a roll of thread behind each.

I had one last lamppost leftover from my Telefonica diorama. I converted it with some rolled wire into a lamp, and carefully glued it onto the hull.


Finally, I added the flags.


For more photos of the finished piece, check out this post.
A final photo of the model in the art gallery, below a painting I made of the Wreck of the Whydah.