Showing posts with label Sam Bellamy. Show all posts

Tuesday, December 5, 2023

Whydah Gally - Pre-Bellamy

          Before becoming the flagship of Sam Bellamy's pirate fleet and ultimately wrecking off the coast of Cape Cod, the Whydah Gally was an English slave ship. I'm working on a second version of the Whydah, for Bellamy and his crew to hunt down.  The first model can be found here, for reference and comparison.


Commissioned in 1715 by MP/Sir Humphrey Morice, the Whydah was a fully-rigged-ship of 110 feet length, 300 tons, and capable of 13 knots. Whydah launched in 1716, bringing manufactured goods from the empire to West Africa, to purchase slaves.  Captain Lawrence Prince was in command.


In West Africa, the crew onboard 500 captive Africans which they transported to the West Indies to sell for raw materials like metals, sugar, and ginger.


The ship had a "slave barricade" across the top deck, which was used to separate the male and female captives when they were brought outside for fresh air. It would also have been used as a defensive structure for the slavers to put down slave revolts. 


Before the pirates captured and altered the ship, the Whyday had a few extra decks and a pilot's cabin, making it a taller and more top-heavy vessel.


After a year at sea, in February 1717 the Whydah became the target of Sam Bellamy's small but effective pirate fleet. After a 3-day chase, Prince gave up the ship without a fight.


When it fell victim to the pirates, the Whydah was carrying 18 cannon, though it had room for more. Theypirates ended up emplacing 10 more cannons, and storing many more in the lower decks.


The photos above are from my second layer of paint. I began with my usual brown spray-primer, and then made a lighter brown layer in oil paint.


Once fully painted, I used black thread and a needle to rig the ship.


For the rat lines, I find putting some gluey water on the thread lengths first and letting them dry hard makes them easier to work with.


Finally, I added the sails, cut from pillow cases, with thread tied off to the bottom corners.


Then I dipped the sails in gluey water, and held them in place on the arms to dry with clips.


As they dried, I tied off the threads to the arms below, and continued on with the next sails.


Here's some shots of the finished model:


Monday, September 18, 2023

Delicia - finished

I recently finished the last touches on Woodes Rogers' Delicia. I previously posted a tutorial on the early steps of this project. Just like my last post, where I detailed at the bottom my process for painting, sails, and rigging, I failed to take photos of painting, rigging, and most of the work on the sails. 

Thus, here are some photos of the final steps of hanging the sails, followed by a lot of photos of the finished model.


Saturday, September 16, 2023

Sloop Marianne and Sultana Gally - Finished models

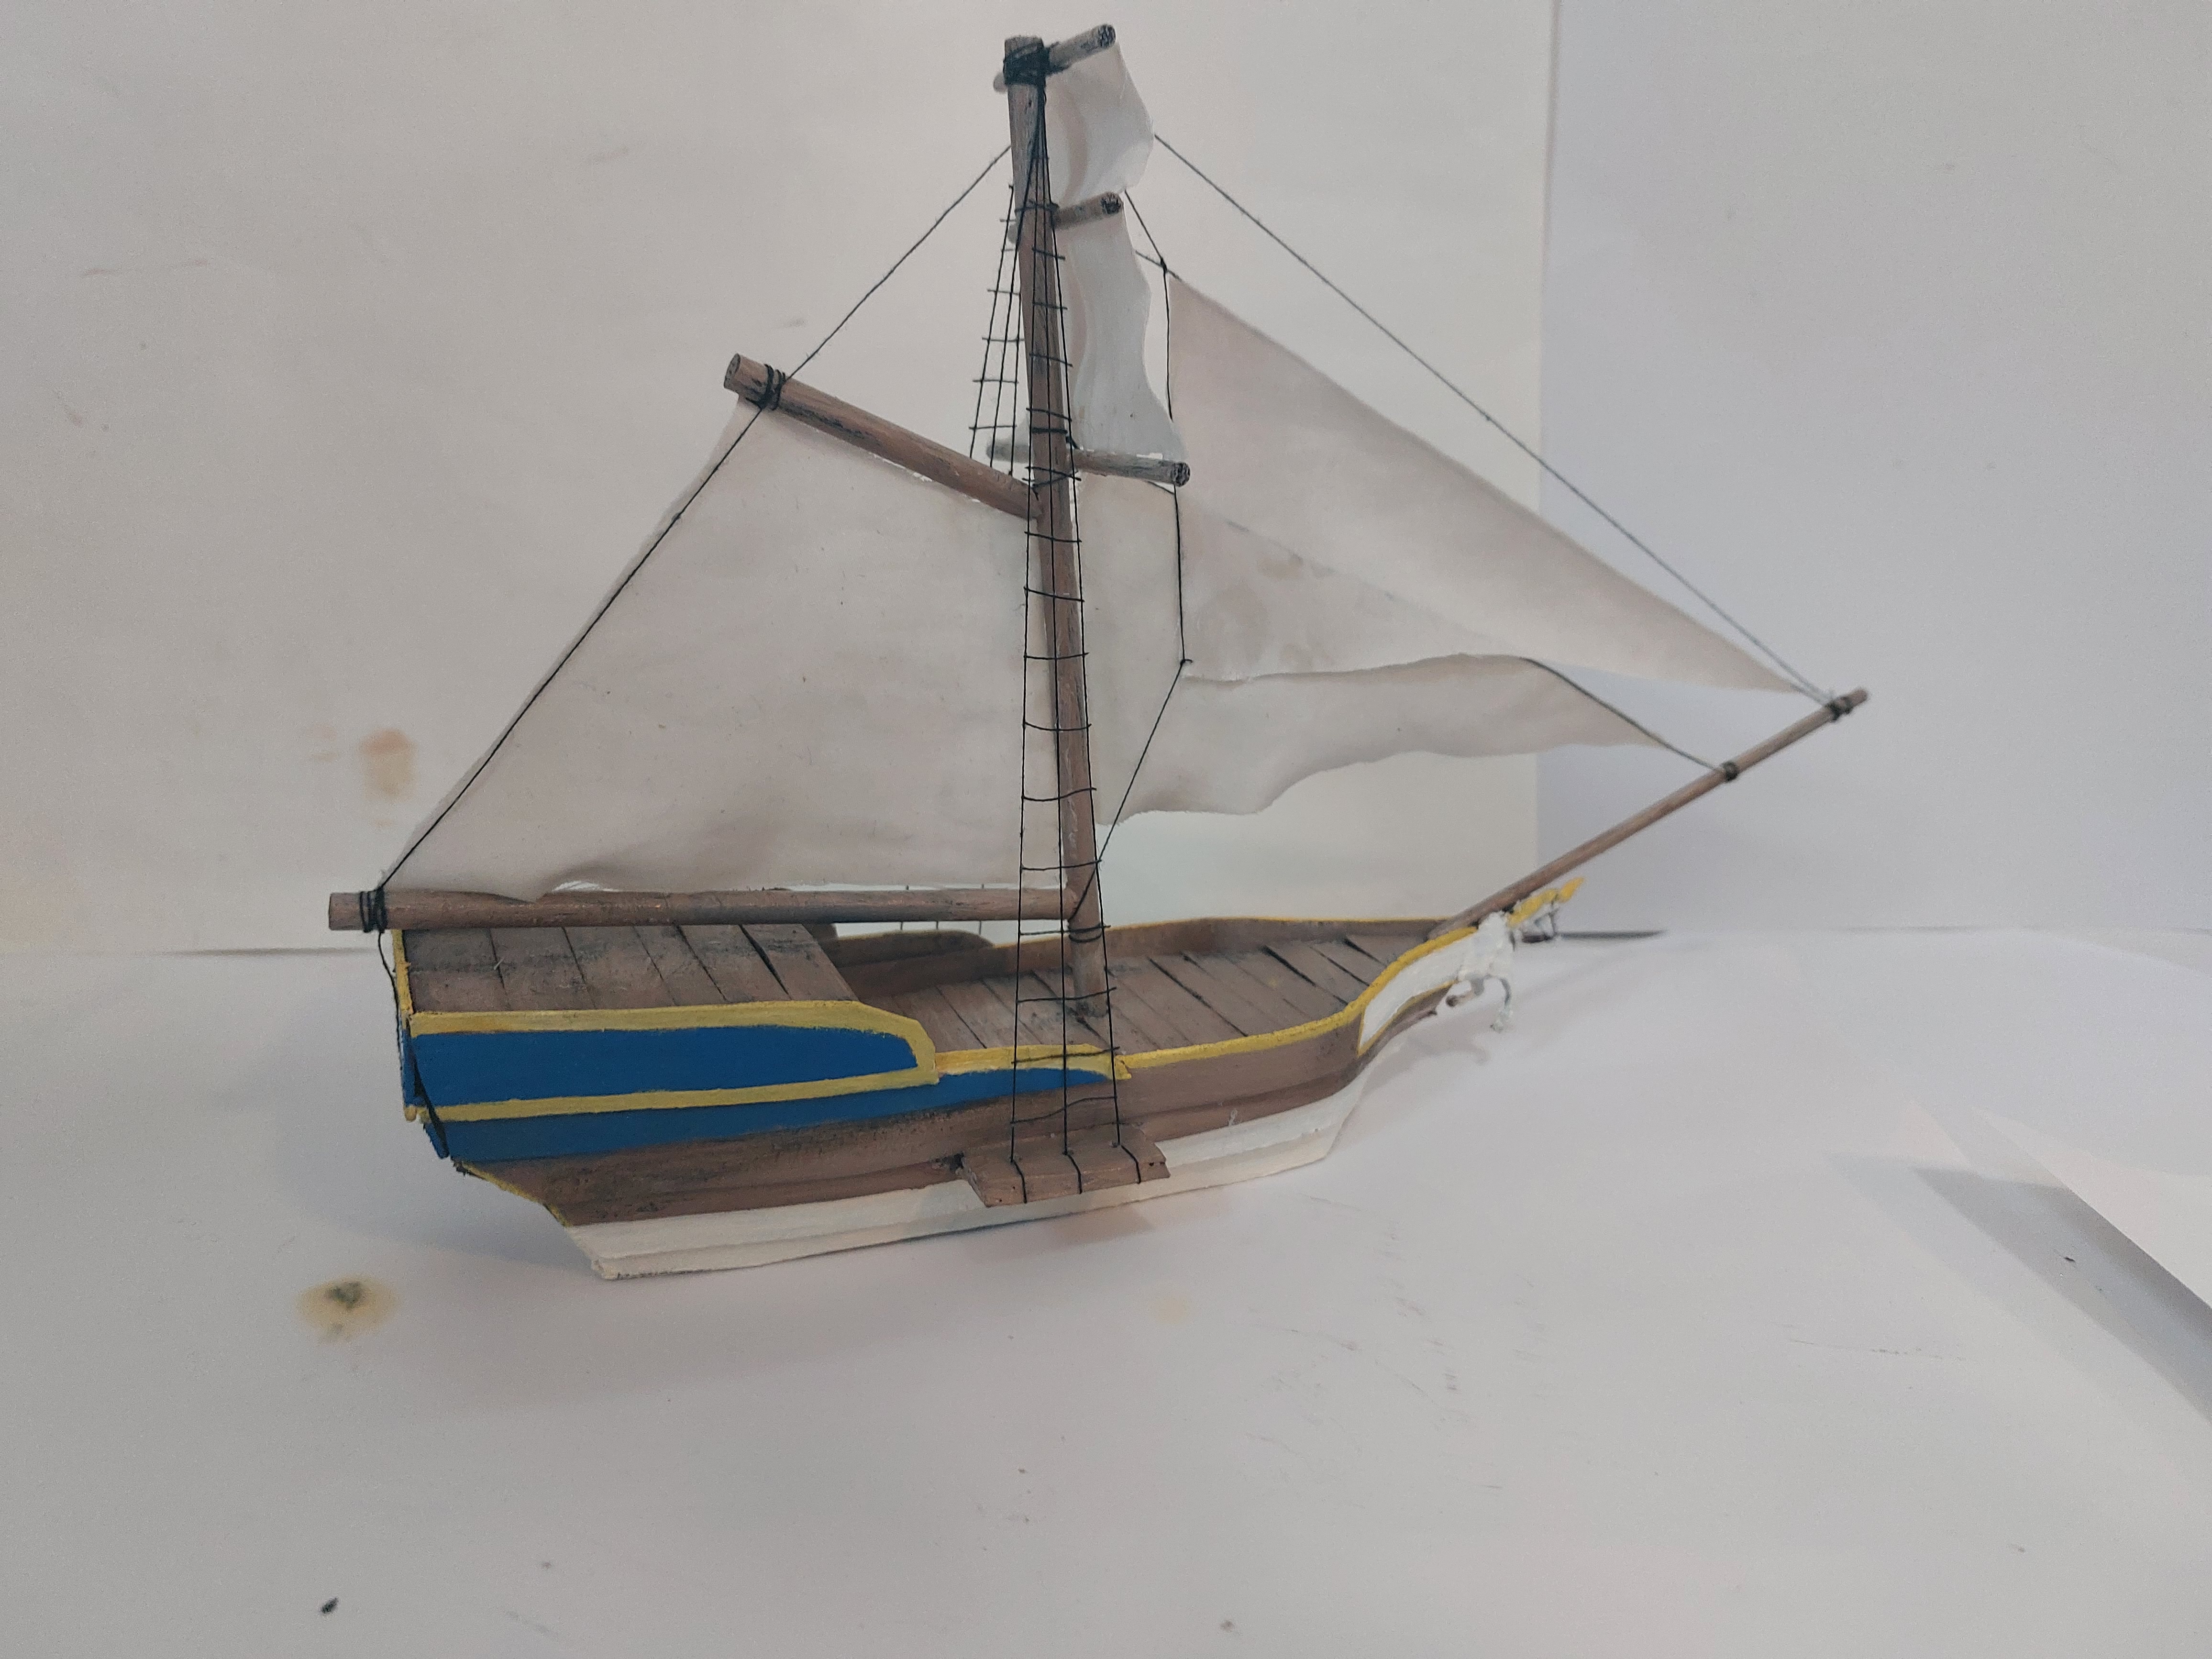
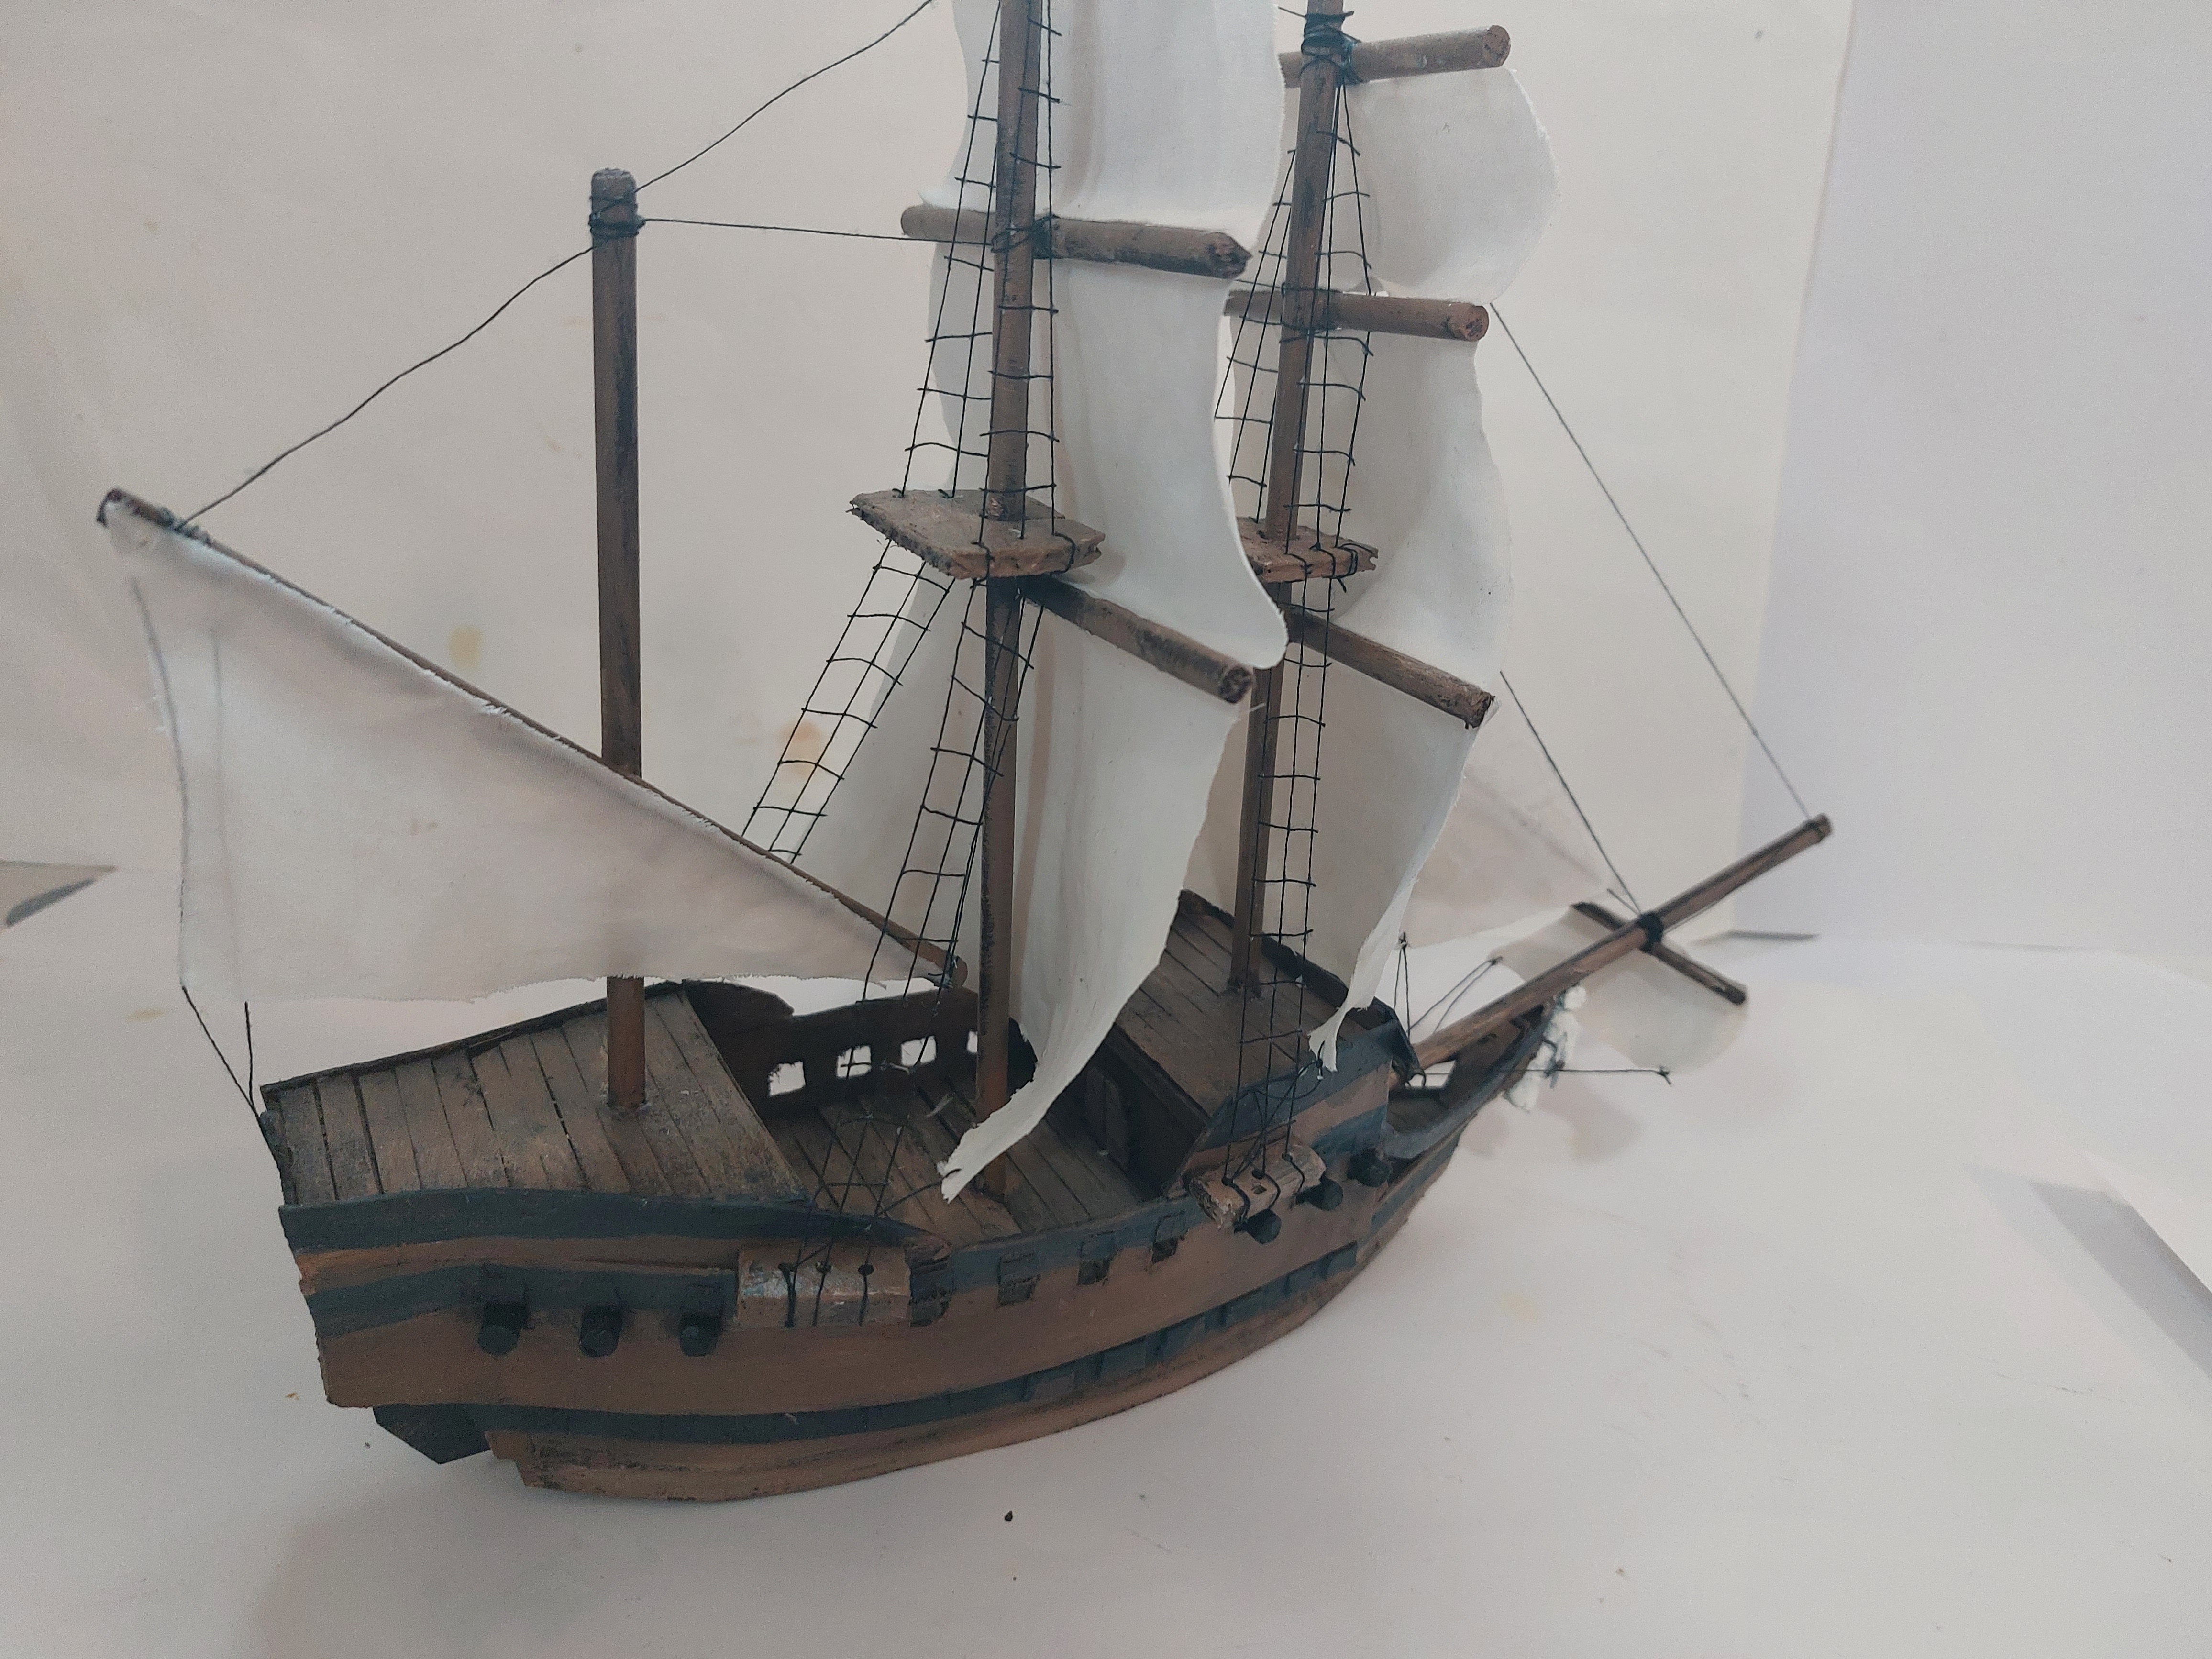
Back in May, I posted a tutorial on the building of cheap cardboard models of Sam Bellamy's first commands, the Sloop Marianne and Sultana Gally. As part of my efforts to complete my ship-building project, I recently put the finishing touches on these two. I failed to keep up with my step-by-step photo documentation, but I described the process at the bottom of this post. 

Here is the Marianne, the small French sloop that Benjamin Hornigold awarded to Bellamy, making him a captain for the first time.


Next is the Sultana Gally, which Bellamy used, in consort with the Marianne, to capture many ships, including the Whydah:


Looking back on my previous post about these particular ships, I'm disappointed in myself that I didn't continue to take pictures of each step to finish off the fairly-detailed tutorial as I intended. I will do my best to describe the rest of the process below. My apologies, reader!

I had left off with the two model ships spray-primed dark brown. Using oil paints, I painted a couple layers of brown onto every surface of the ship, with darker layers first and brighter layers with a good deal of linseed oil last. Next, I painted details, using black for the cannons and stripes, and brighter colors for some of the trim, especially on the Marianne, and the figureheads. I very carefully painted the ship names on the sterns.

I left the paint dry for a few weeks, and began with the rigging. First, I build the shrouds and ratlines. Using a small needle and black thread, I began at the bottom. I had previously poked 3 holes in each of the channels and crows nests, and I tied a long piece of black thread to the furthest aft hole. I thread it up through the corresponding holes in the crows nest, where I made a second loop and tie. I continued the thread up over the top of the mast, tied it again, and threaded back down the next set of holes. I continued in this way, bringing shrouds up and down the masts until they were complete. 

Next, I cut tiny bits of black thread for the rat lines, which I simply glued across the shrouds, as evenly-spaced as I could, to make the ladders. I found getting a small bit of watery glue on the ratlines and letting them dry made them easier to keep them straight and cut in fine detail.

Once the shrouds and ratlines were complete, I added more rigging to tie the masts together, and lines for the fore and aft sails to hang from, then I began on the sails. I carefully measured and cut the sails to the correct shapes, dipped them in watery glue and rung them out, then hung them from the yards using clamps. For the square sails that needed to be tied off to the yards and channels below them, I needled and knotted pieces of black thread through the bottom corners of the sails before the dip in gluey water. I hung these threads to yards or other objects behind the sails themselves, which helped hold the sails in positions which suggested they were full of wind. Once the sails were dried, I tied them off to the yards or channels below. I cut off all excess thread and these ships are ready to go.

Check back soon, I will post more ships.