Saturday, July 8, 2023

Whydah Gally Tutorial Pt 2

 Picking up where I left off with the Whydah Gally tutorial part 1, I began by preparing cannons to add to the ship. Now, I'm not a skilled enough sculptor to model accurate enough cannons for above deck, where they can be closely viewed. My tooth-pick cannons were fine for below-decks where they would just poke out of the port holes, but I purchased some brass cannon from a model ship company. I also had a couple cheap plastic cannons from sets of pirate miniatures.


The cannon carriages were sold separately, and I cannot spend too much money on these projects, so I built my own out of cardboard and bbq skewers for wheels. Not the best pieces, but with paint and ropes they'll do fine on the crowded deck.


Glueing the cannon onto their carriages so that they would fit well through the port holes took a few tries. I needed to make sure they would all sit nicely before I could paint and finish off the cannon.


Looks pretty good.


I spray-primed the cannons and carriages, then painted the cannons in gun-metal enamel, and the carriages a similar brown to the hull.


I added the ropes around the cannons, and set them aside to dry.


While they dried, I began rigging the ship.


By this point, I only had a few days before my art gallery opened, so I really got down to it.


Before I got too far with the rigging, I glued the cannons into place, adding rolls of rope to hang next to each cannon.


Here they are, completed:


Next, I began stringing up the rat lines. I used a needle to thread the vertical ropes up the masts. Then I cut small pieces of string, wiped with a small amount of Glue-All to stiffen them up. Then I glued them in place horizontally, as the rungs of the rat lines. Other, better models than I would have tied each of these into place, but I had neither time nor patience for that. 


Once I had completed the rat lines and most of the inner rigging, I got started on sails. My kind wife brewed me some black tea, which I mixed with a little gluey water. I used some old pillow cases and cut them to size. I threaded a line through the bottom corners of each sail, to tie them off later. I dipped each sail briefly in the gluey tea, squeezed them out, then dripped the tea bag onto them before giving them a second squeeze.


I ran a bead of glue on the yard and clamped the sails into place until they dried. 


Slowly, over the coarse of the last few days available to me, I added the sails. and made sure they dried correctly, adding more glue where they hadn't.


Once satisfied, I went back through with my scissors and cleaned up the frayed edges and excess sail material.


Almost done, I went back through and tied off the bottoms of the sails, leaving the excess thread for the next step.


I rolled up the excess thread, or added more when there wasn't enough, to leave hanging off the rails.


I had previously made some anchors out of clay and paint, and I glued them into place as well, adding a roll of thread behind each.

I had one last lamppost leftover from my Telefonica diorama. I converted it with some rolled wire into a lamp, and carefully glued it onto the hull.


Finally, I added the flags.


For more photos of the finished piece, check out this post.

A final photo of the model in the art gallery, below a painting I made of the Wreck of the Whydah. 


Saturday, July 1, 2023

The Whydah Gally - Finished Model

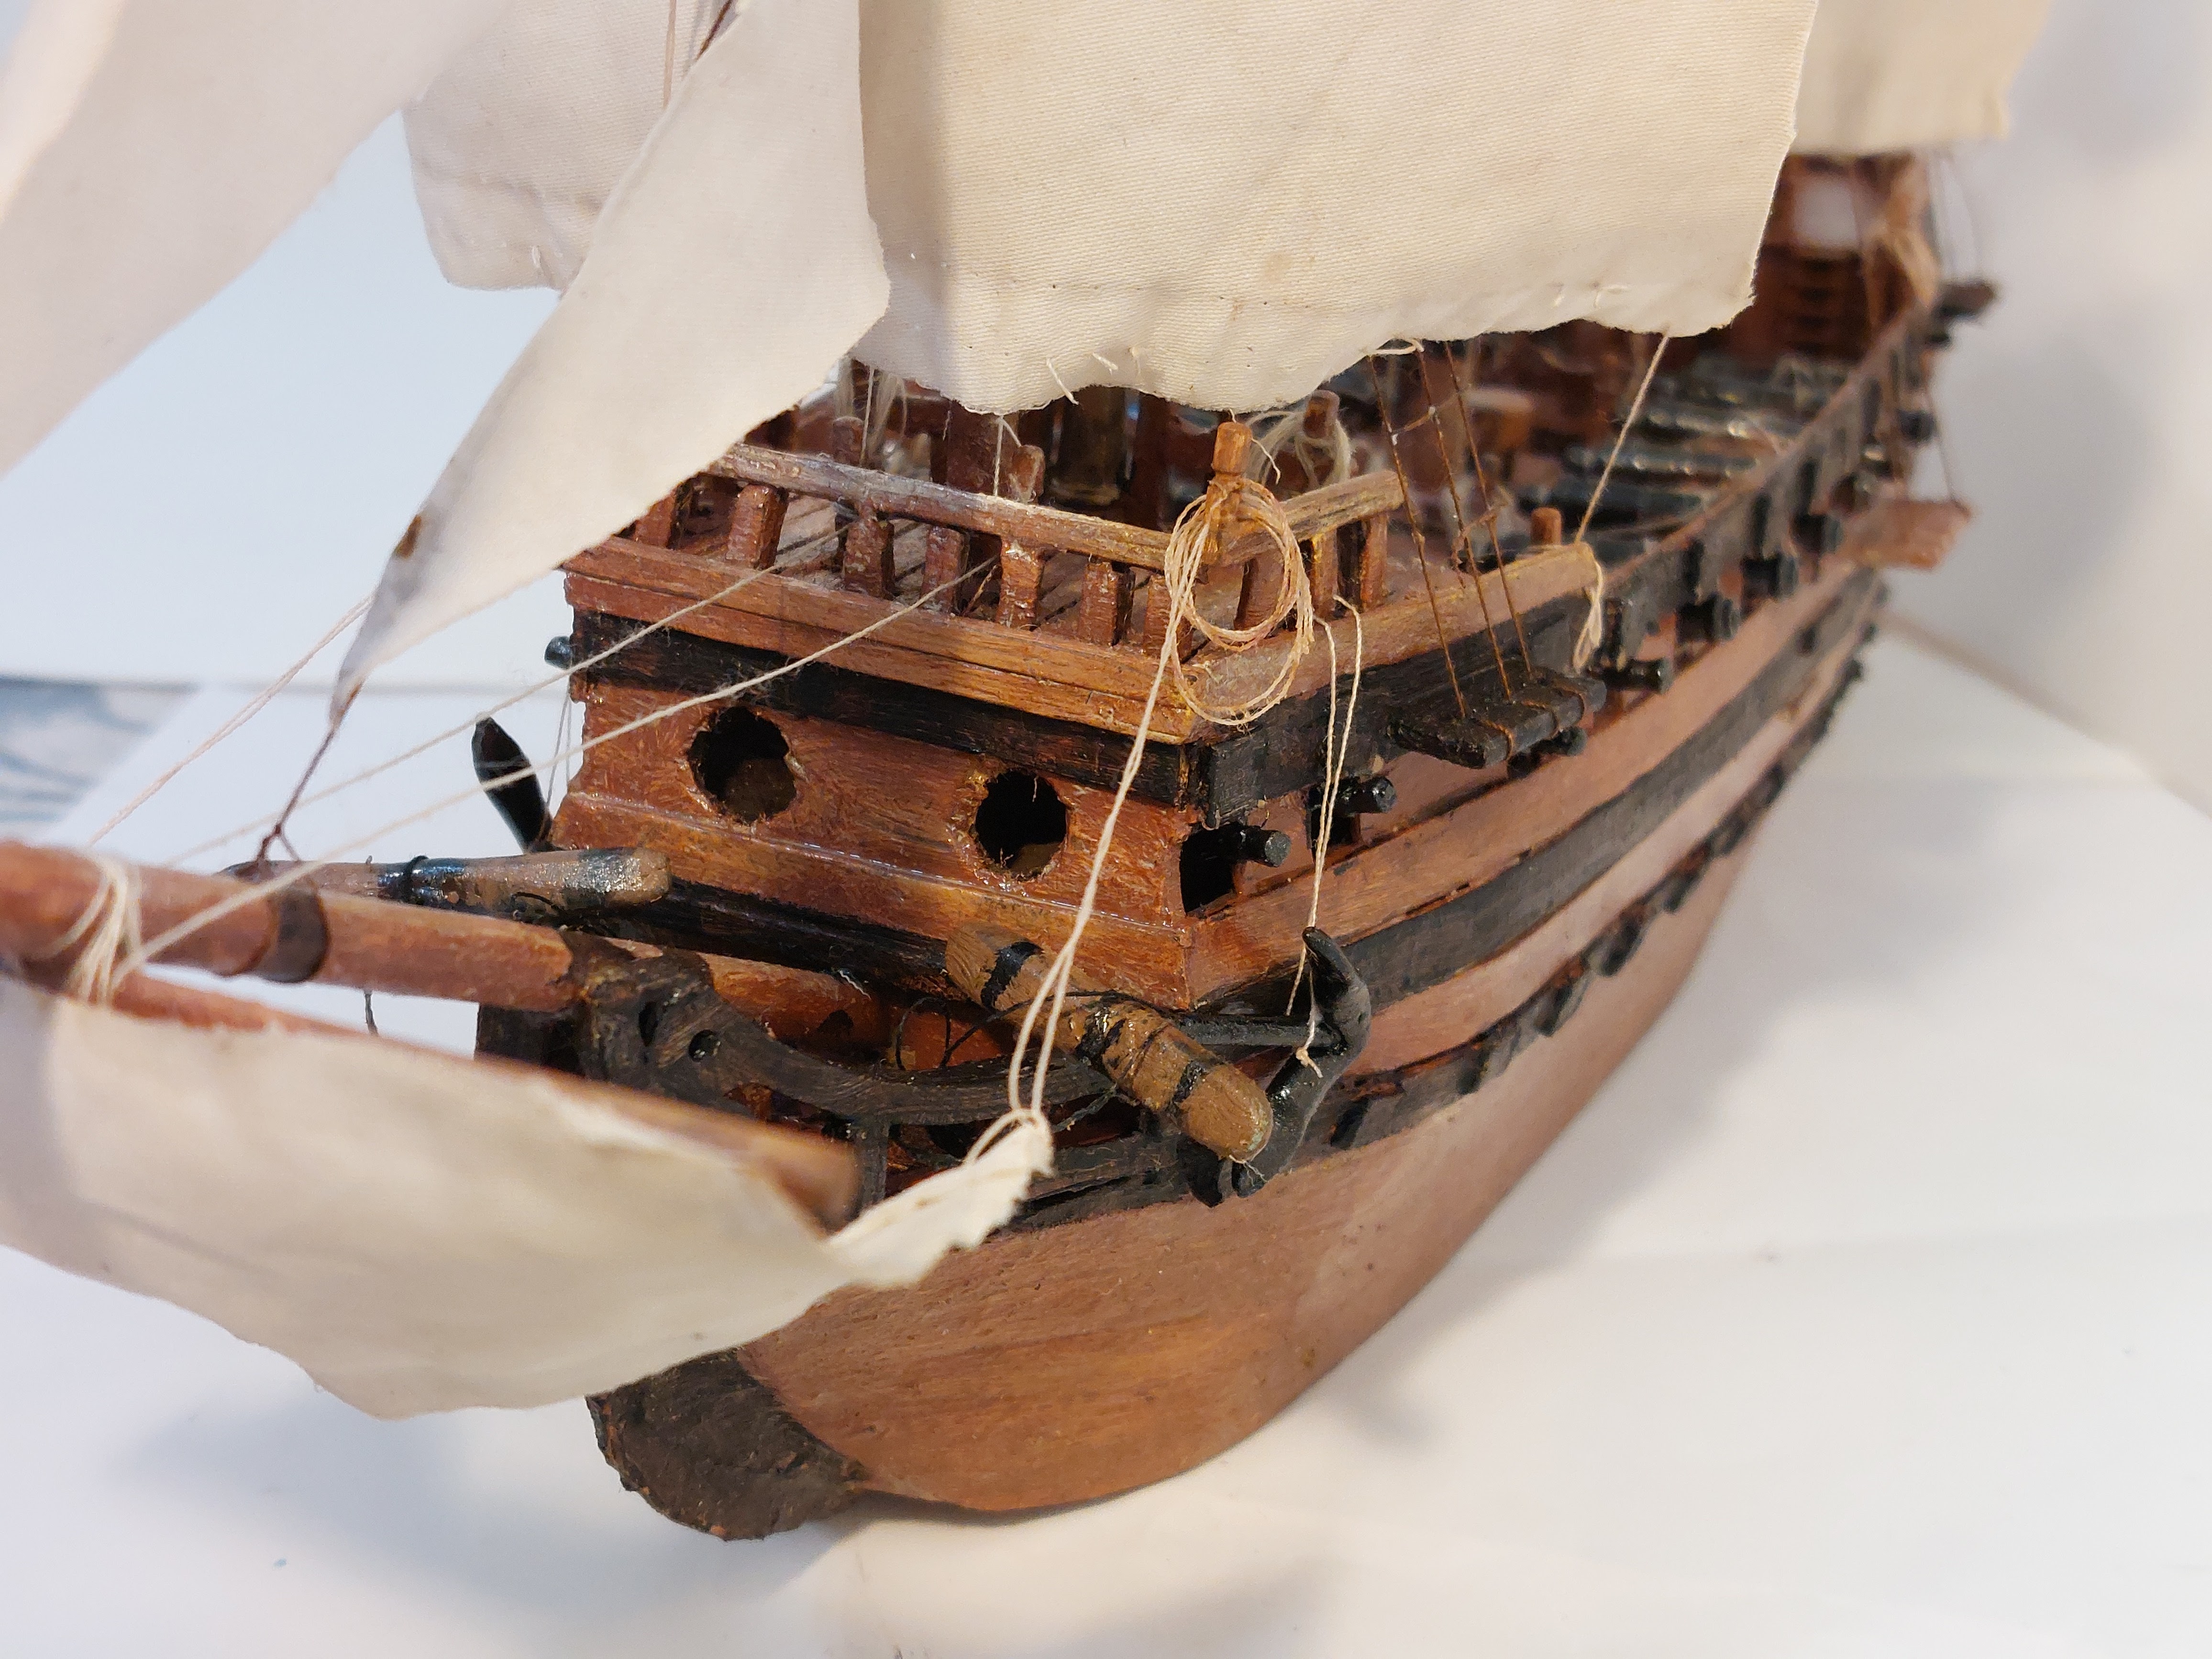
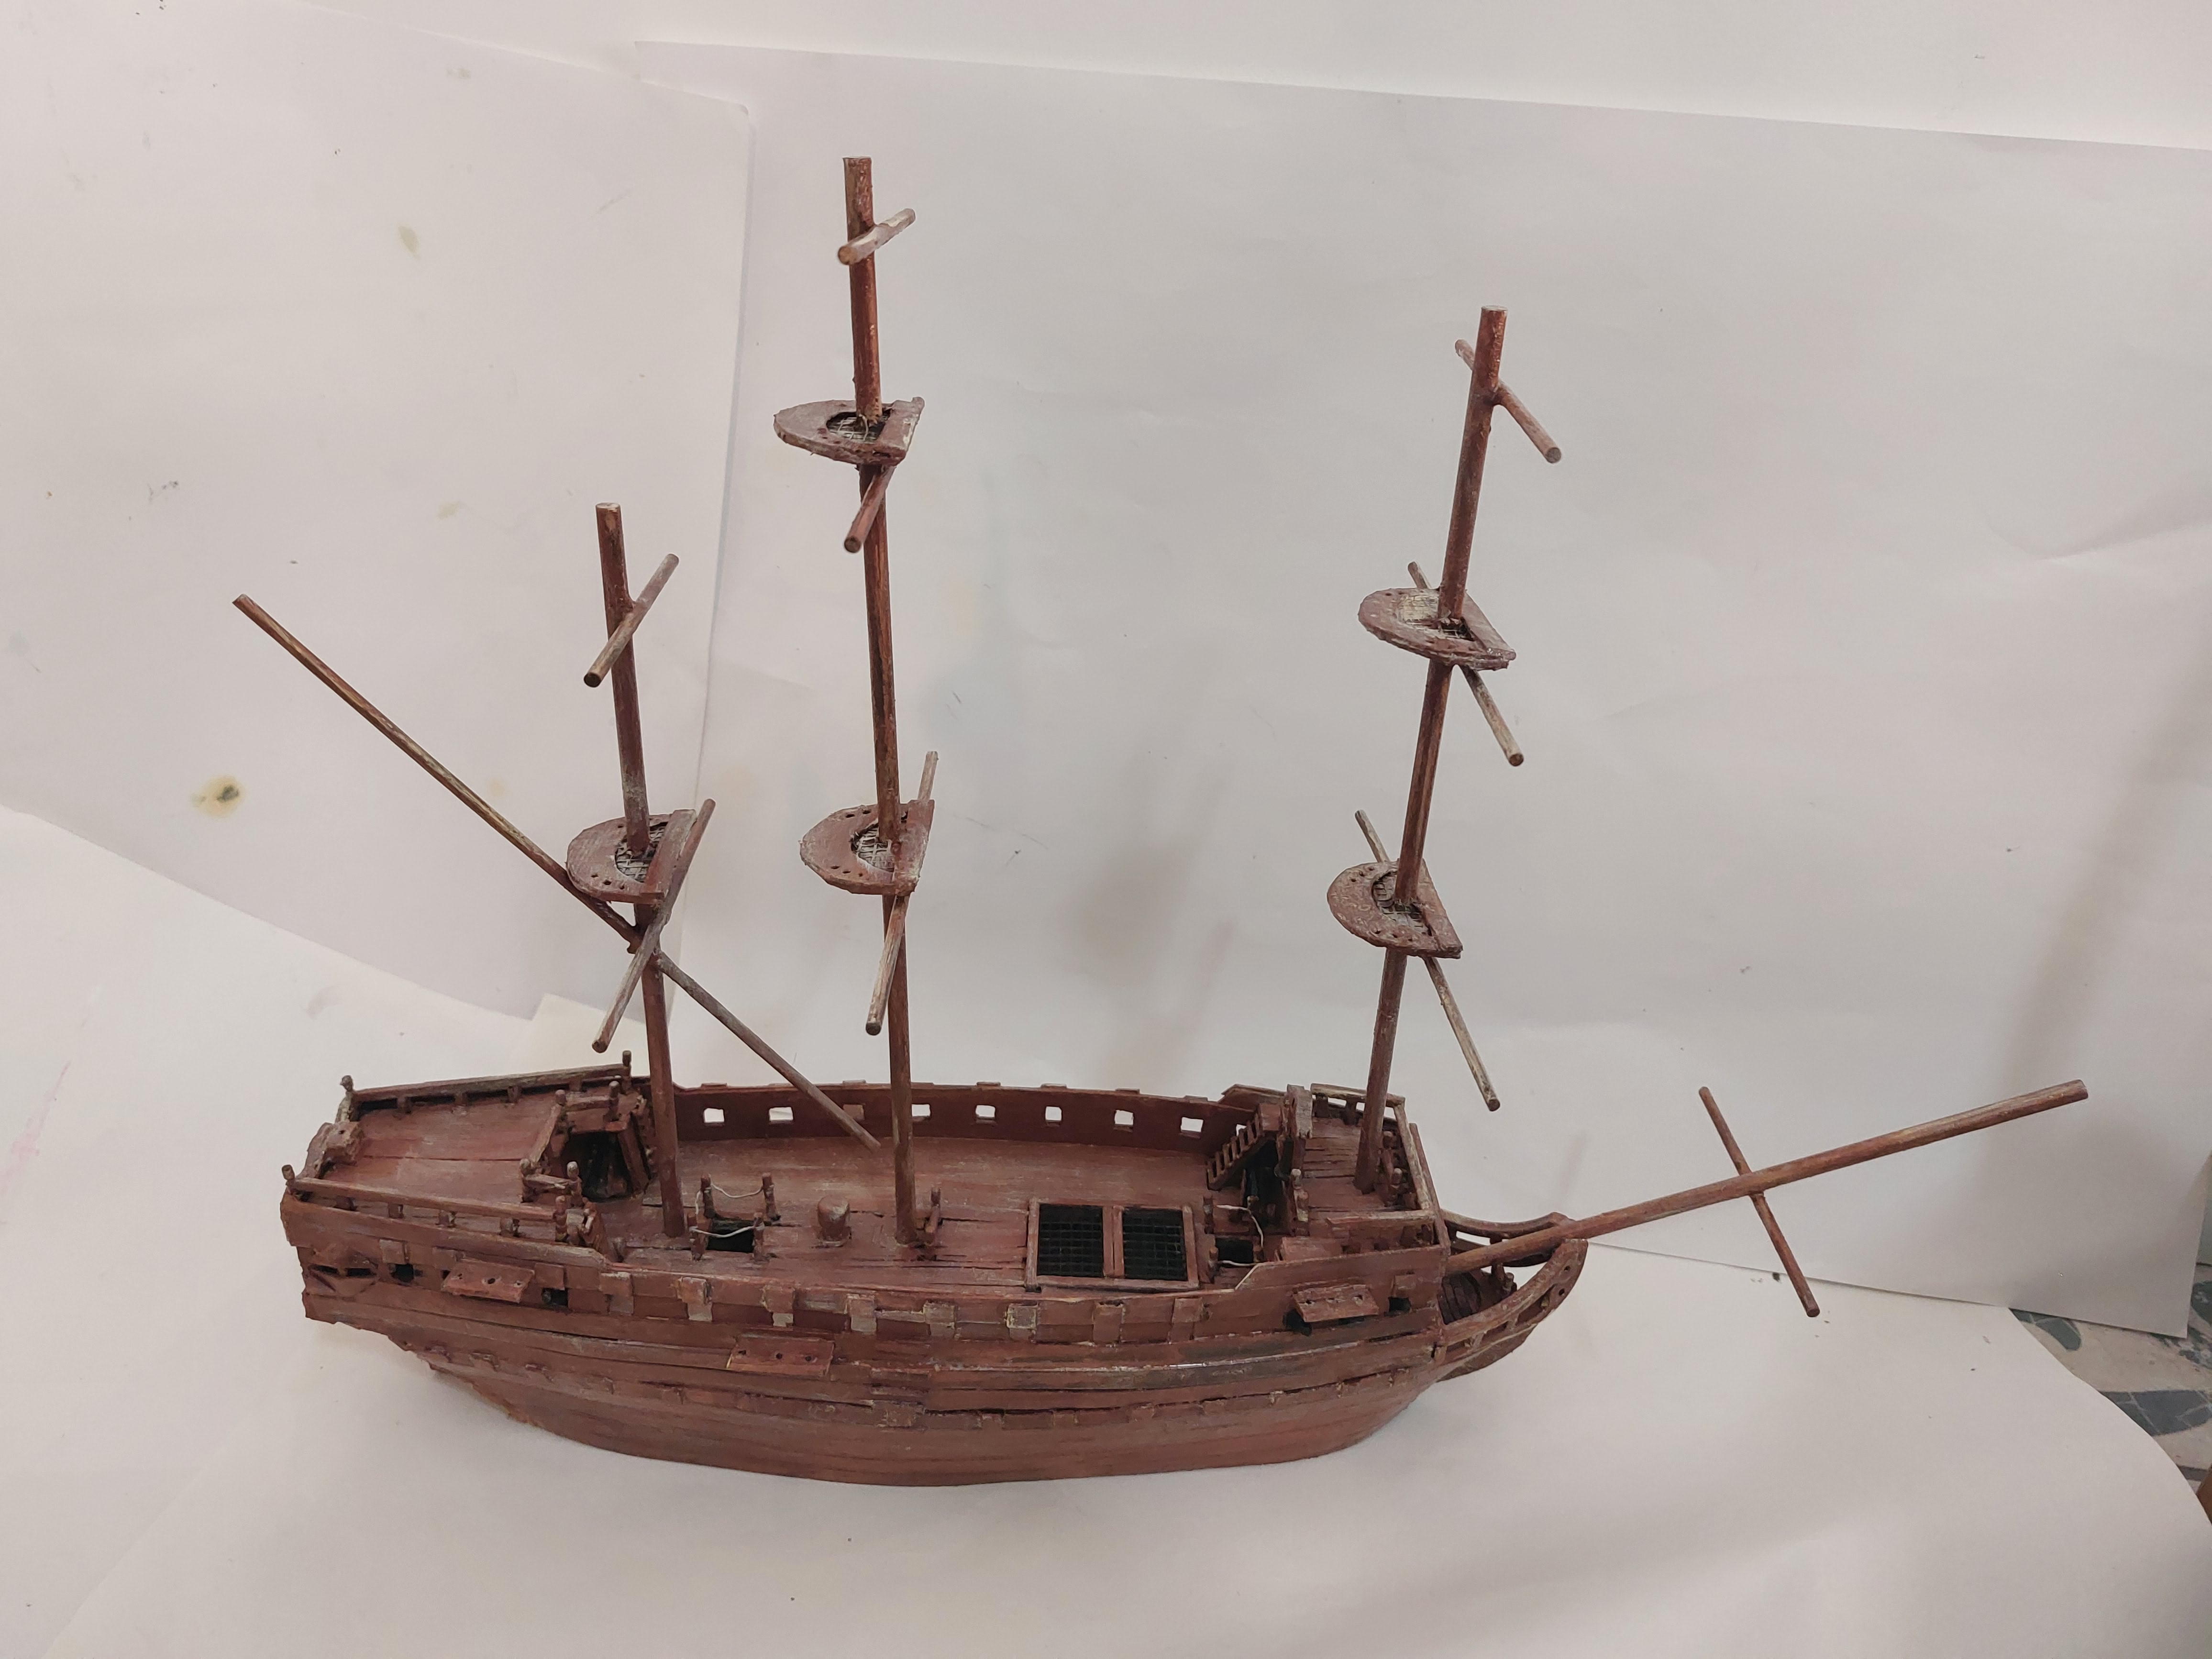
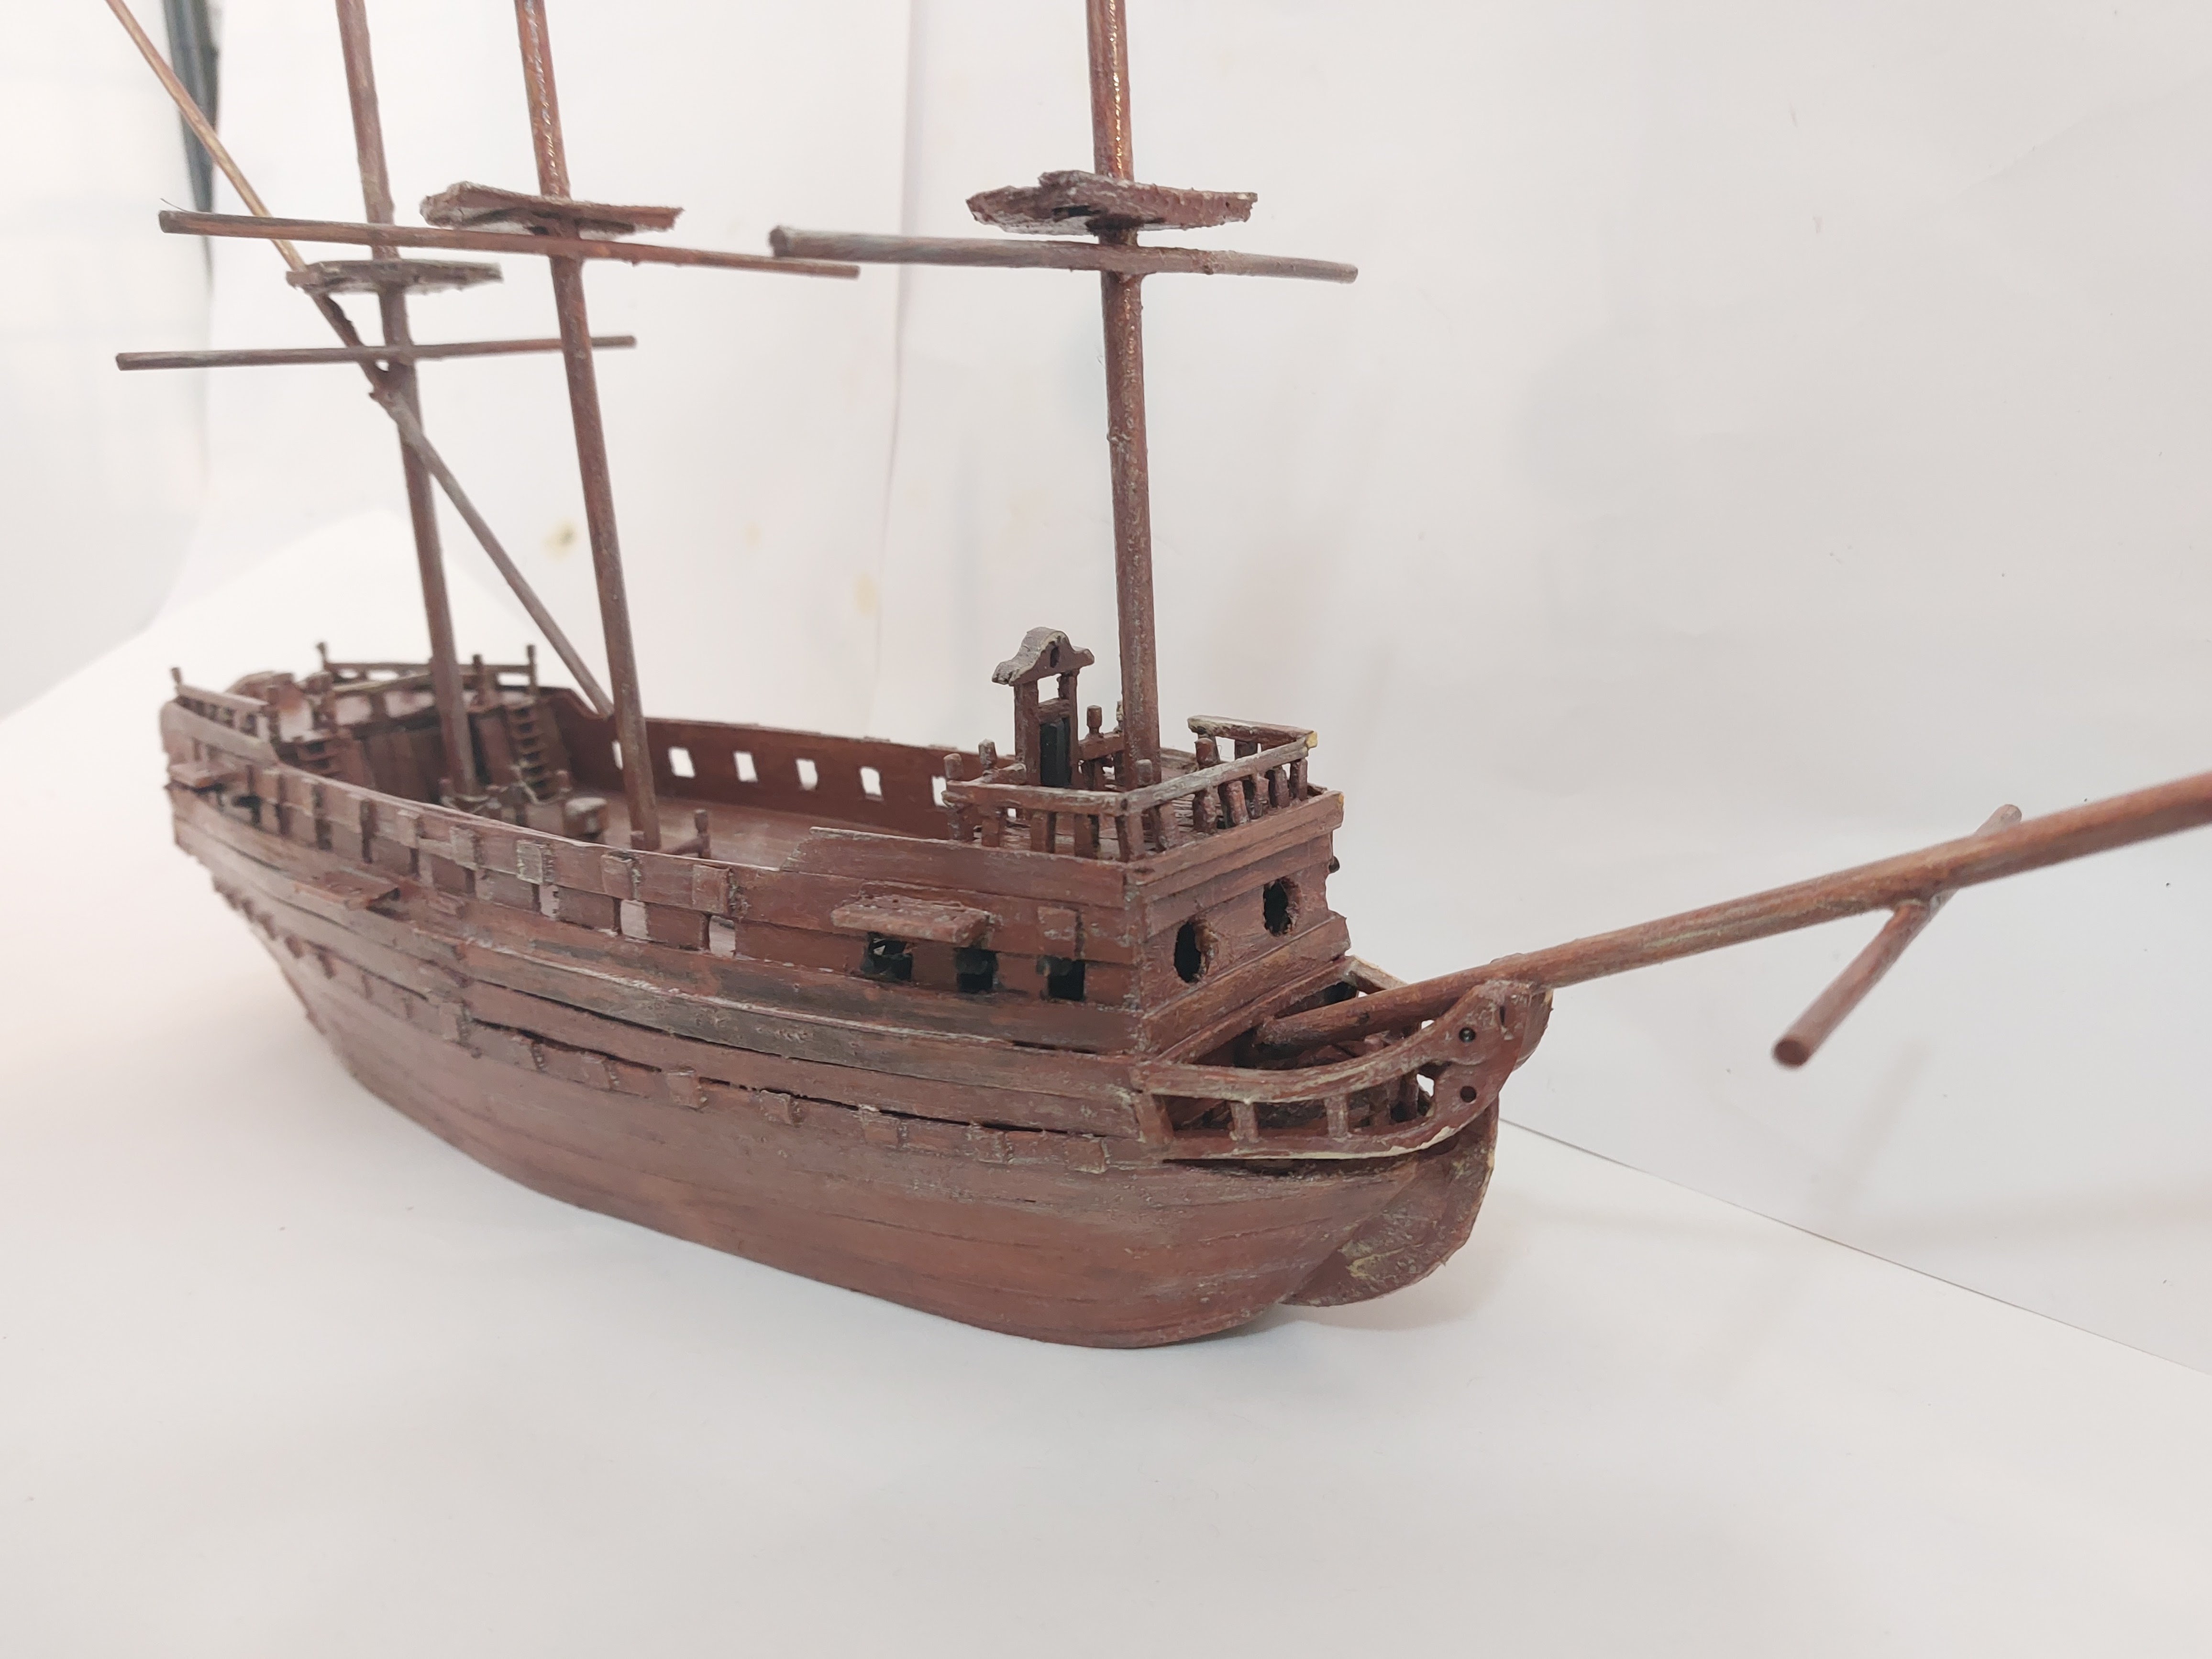
 I have just completed this morning my model of Sam Bellamy's Whydah Gally, just in time for my art show at the gallery space in our local library branch. Below you can find a whole bunch of photos. I will be making another post on this subject, finishing off my tutorial on the construction of this model. Until then, I hope you enjoy!


A painting I recently finished entitled: "The Wreck of the Whydah."


They are displayed together in the library's gallery.


Monday, June 19, 2023

The Whydah Gally Tutorial Pt 1

Today is Juneteenth, a holiday commemorating African-American emancipation from slavery in the US.  I thought it would be fitting to give a sneak peak of my model of the Whydah Galley. The Whydah was a slave ship captured by the pirate Black Sam Bellamy in March of 1717 after a three day, three hundred mile chase through the seas between Cuba and Hispanola. While the Whydah's captain had already sold most of the African captives into slavery, when the pirates arrived there were still fifty slaves onboard (according to some sources). Every one of those African captives, when offered the choice, joined up with Bellamy's crew, which according the they Whydah Pirate Museum was among the most diverse and most democratic of pirate crews.


I've spent the last few weeks diligently working on this model of the Whydah. I hope to have it ready for my art show at the local branch of the library, which will be up for the month of July. I followed the same procedure I used in previous models, though I based it on paintings, engravings, and other models purporting to be of the Whydah, took my time and added a lot more details than I have before. 


Thats all for now, as I said, a quick sneak peak. Next  I'll paint the details, add the rigging and sail. Later, I'll share those updates as well as a full tutorial of how I build this.

Check out the Tutorial Pt 2 to see how I finished this model.

                Down with Slavery, and Up with Freedom!!!

Previous posts which mention the Whydah and Sam Bellamy.

Why Pirates of the Golden Age?

Scratchbuilding the sloop Marianne and the Sultana Galley (Tutorial)


Saturday, June 3, 2023

Assault Guards and Civil Guards

This week, I took some photos of two of my Spanish Civil War security forces: Guardia de Asalto (Assault Guards) and Guardia Civil (Civil Guards). During the Spanish Civil War, Assault Guards and Civil Guards fought on both sides of the conflict. As the war went on, each side reorganized their security forces, sometimes updating the uniforms. I've painted my security forces in the pre-war uniforms which would have been worn in the first months of the war.

The first set of photos is of the Assault Guards. Before the war, this unit operated in urban areas, often repressing workers movements. It must have been strange for both the officers and the radical syndicalists to find themselves on the same side of the barricades in the summer of 1936.


These assault guards are from a variety of plastic sets. Some are from Barcelona Universal Models, but most are converted from WWI sets.


This MG teams was originally from the HAT Industrie Russian WWI heavy weapons set. Most of the riflemen around the MG crew are from BUM...


Such as this second MG, which were originally SCW soldiers before I gave them new heads.


I have a few Assault Guards on horseback, from BUM.


 I also made a group of seated Assault Guards out of WWI Russian artillery riders. They are seated on a removable platform, so they can be swapped out of the truck for various other factions, as the scenarios require.


The Assault Guard's command piece is from a plastic WWI set.


As are the most of artillery crew and the mortar team.


While most of the Assault Guards are converted pieces from WWI sets, it is not so easy to convert plastic sets into Civil Guards, due to their unique hats.

Civil Guards were the rural police of the Spanish government. Like the Asaltos, they found themselves on both sides of the war.


Almost all of my Civil Guards are from BUM sets, such as these riflemen by the pig pen. A lot of these are flimsy resin pieces, which often suffer broken gun barrels. 


These grenaders are of the same flimsy BUM resin. The SMG-carrying officers they are standing with, however, are nice metal pieces from Irregular Miniatures.


This group is of the same mix.


It was a happy coincidence that I arranged my security forces on either side of this farmers' pig pen.